
Last updated November 15, 2026
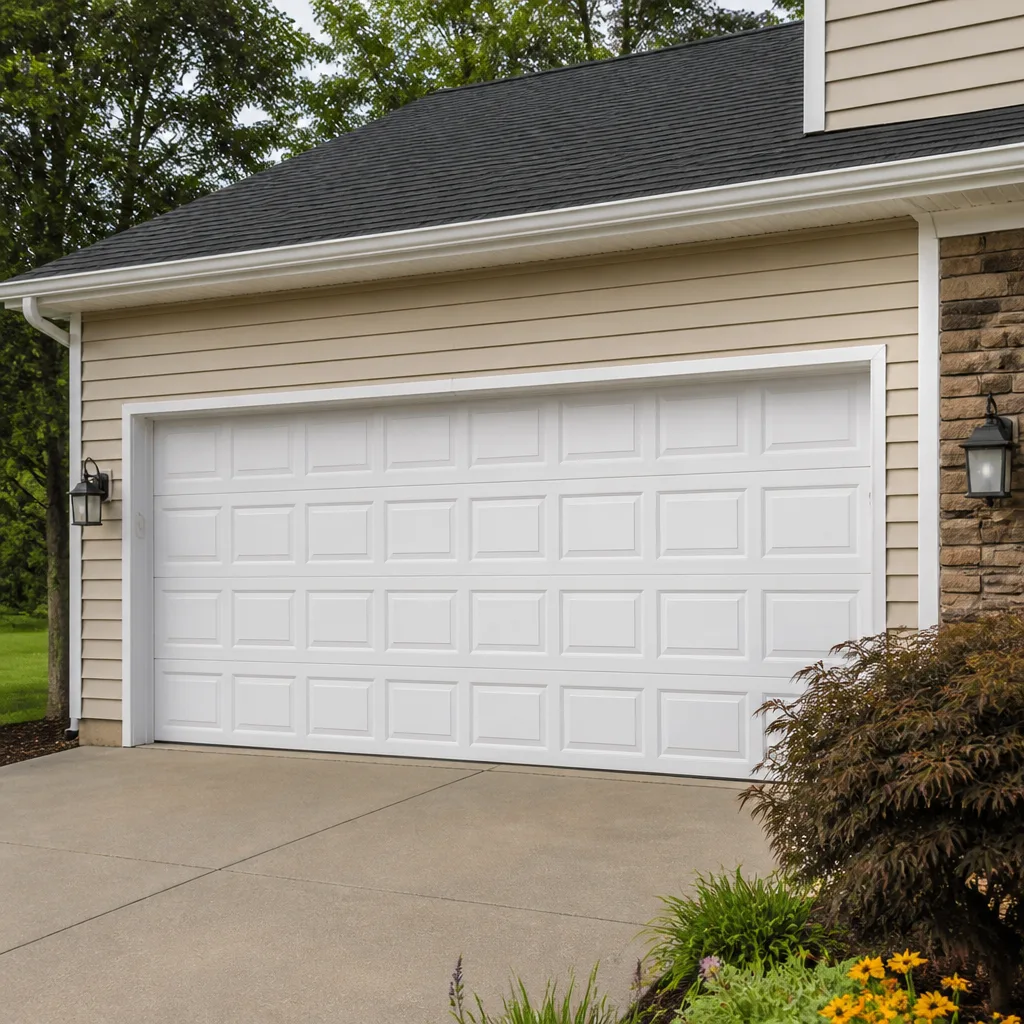 Raised-panel steel
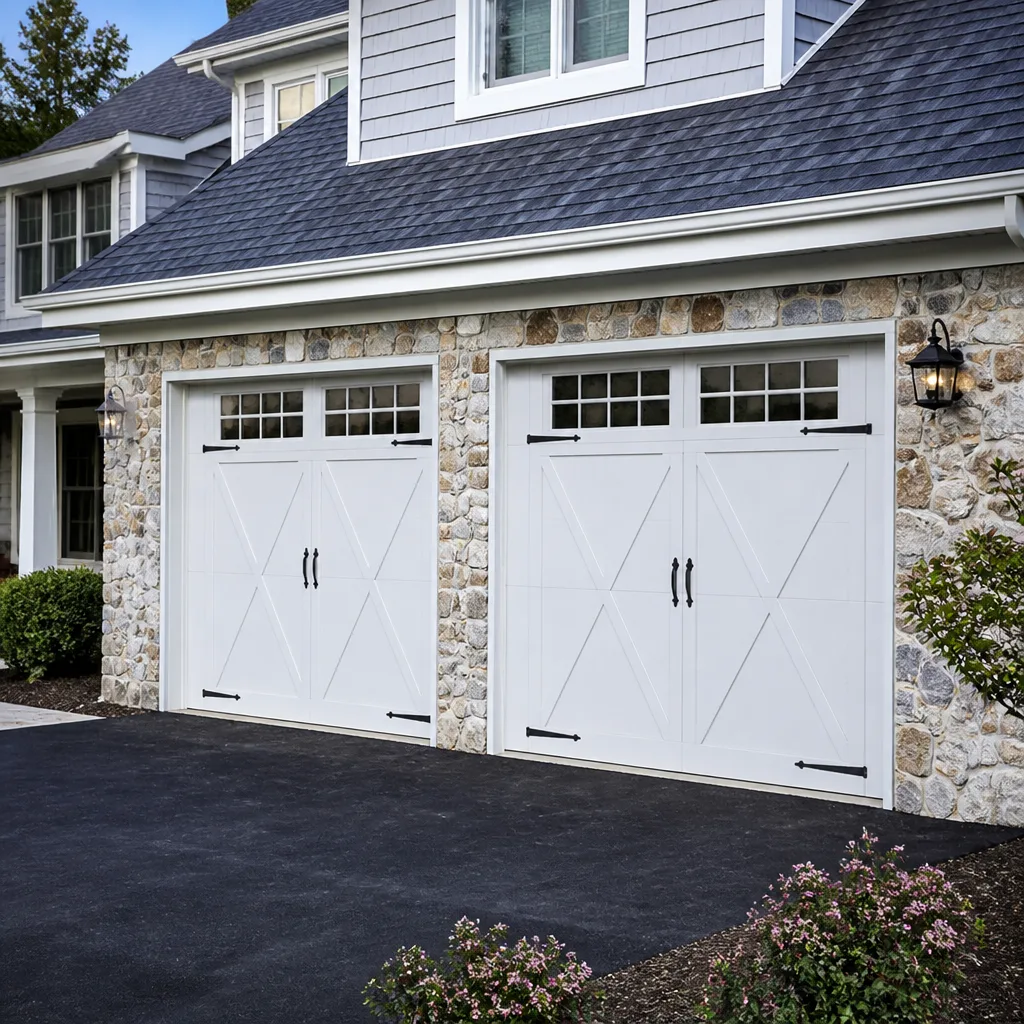 Carriage house
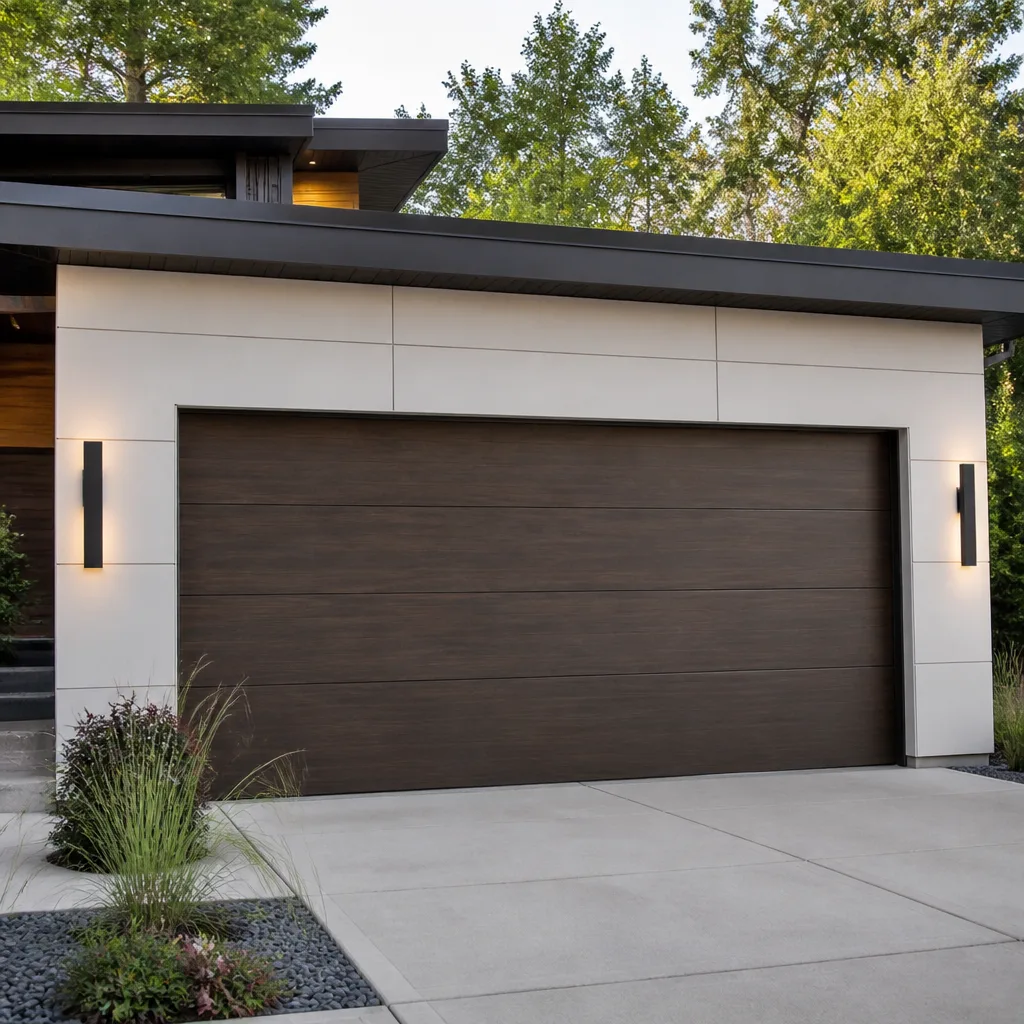 Modern flush
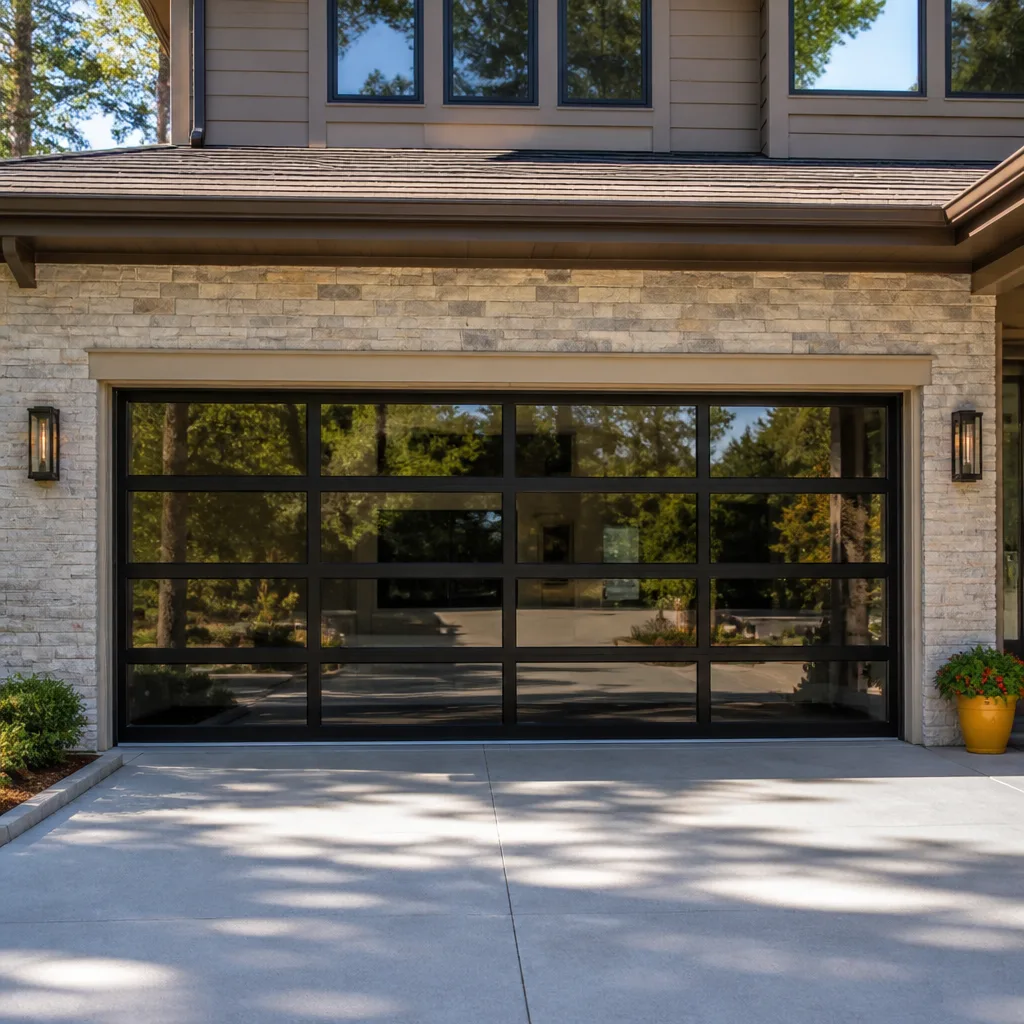 Full-view glass
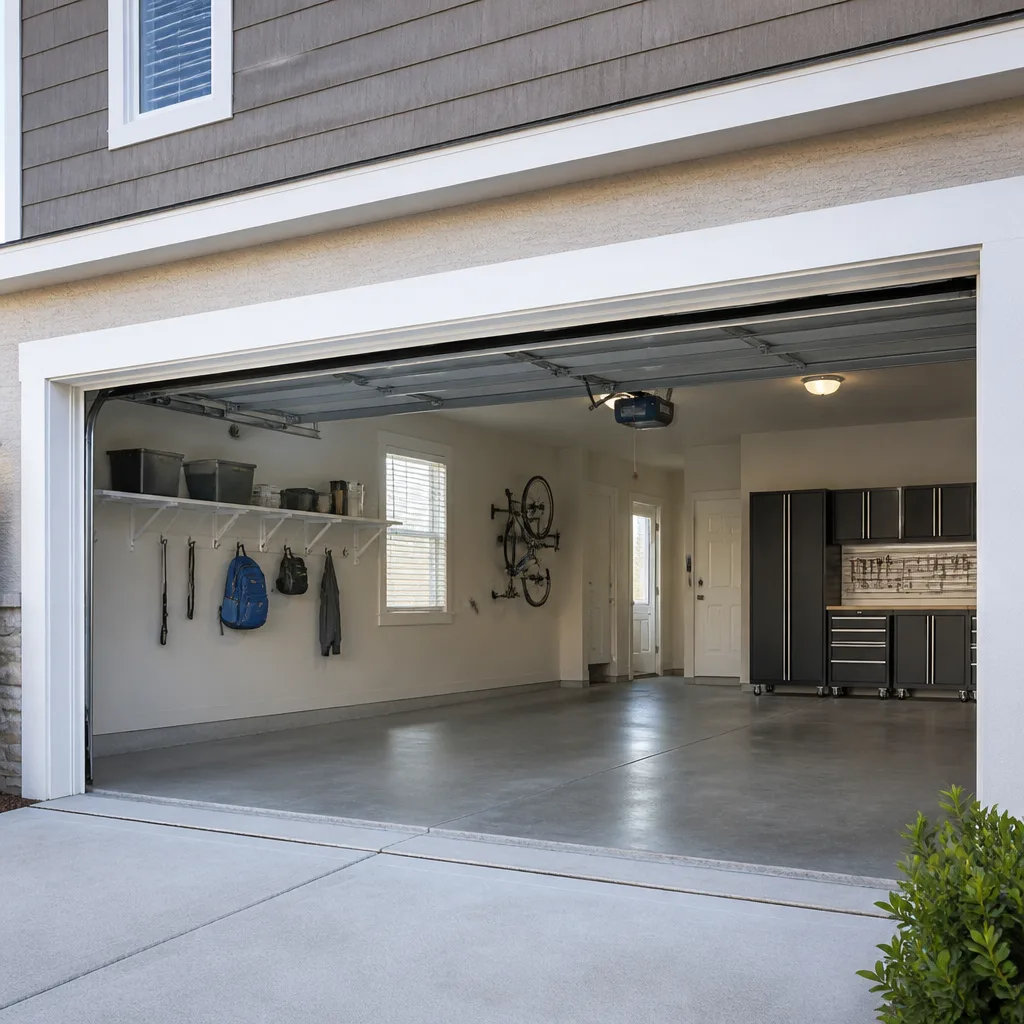 LiftMaster openers
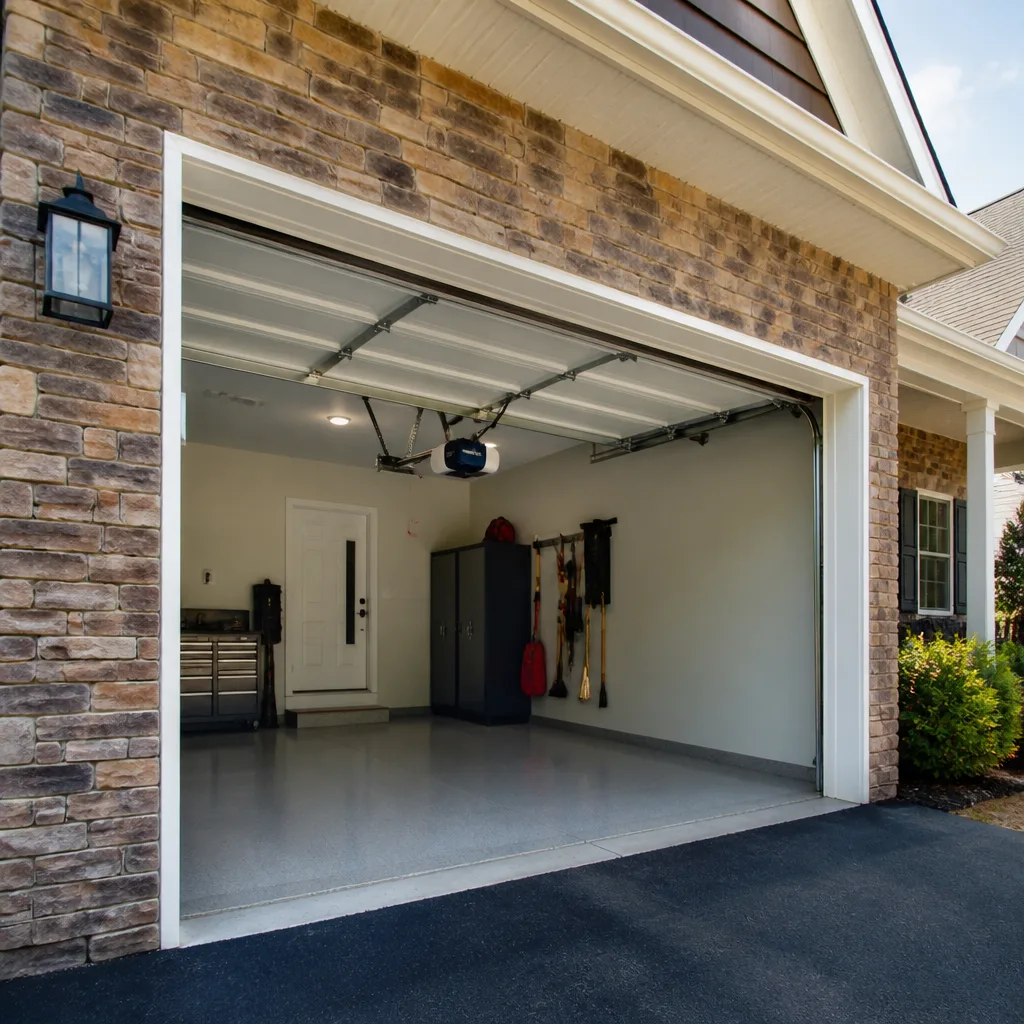 Chamberlain openers
Full 25-point door and opener safety check with every visit - springs, cables, rollers, tracks, and your LiftMaster or Chamberlain opener included
You get a price before we start. It does not change when the pro arrives.
Get your free estimateDIY vs Professional Garage Door: The Raleigh Homeowner’s Decision Guide
Most homeowners assume the DIY-versus-professional question comes down to skill. It doesn’t. It comes down to failure modes. A weather seal you install badly lets in a draft; a torsion spring you handle badly can break your wrist. The tasks look similar on a video and behave nothing alike in a garage, because the energy stored in a wound torsion spring is enormous and it releases in a fraction of a second. This guide breaks the work down task by task, explains the actual physics behind the spring warning, walks through how Raleigh permits and climate affect the decision, and tells you plainly which jobs are worth your Saturday afternoon.
Quick Answer
Homeowners can safely handle weatherstripping, lubrication, safety sensor alignment, and remote or keypad programming. Torsion springs, cables, and high-tension hardware should always go to a trained technician, no exceptions. Opener installation and full door replacement sit in the middle: doable in theory, but warranty terms, permit requirements, and the age of the door’s supporting hardware usually tip the math toward calling a professional. In Raleigh, most of the genuinely dangerous garage door work is the same work that carries the biggest injury risk anywhere else.
Styles & brands we work with
- Raised-panel steel
- Carriage house
- Modern flush
- Full-view glass
- LiftMaster openers
- Chamberlain openers
Table of Contents
- Why the Decision Is About Failure Modes, Not Skill
- Task-by-Task Breakdown: What You Can and Can’t Safely Do
- The Physics of Torsion Springs, Explained Plainly
- DIY Opener Installation: Where It Makes Sense and Where It Voids a Warranty
- How Raleigh Permits and Code Requirements Interact With DIY Work
- What “I’ll Watch a Video First” Prepares You For (and What It Skips)
- Raleigh Climate and Your Garage Door: What the Seasons Actually Do
- DIY vs Professional Cost: An Honest Comparison
Why the Decision Is About Failure Modes, Not Skill
Every home repair has a failure mode. A botched tile job means a redo. A badly hung picture means a hole in the drywall. Those failures are annoying but they’re recoverable. Garage door work is different because three or four specific components store enough energy that a mistake can hurt you before you have time to react.
So the right question isn’t “am I handy enough to do this?” It’s “if this goes wrong, what’s the worst realistic outcome?” That framing changes everything. A homeowner who is genuinely good with tools can still get hurt reinstalling a torsion spring, because the danger comes from the stored energy, not the dexterity of the person releasing it. In our experience, the homeowners who run into trouble are rarely the inexperienced ones. They’re the confident ones who’ve done a lot of other work around the house and assume this is more of the same.
The distinction matters in Raleigh as much as anywhere. Plenty of homeowners here grew up doing their own maintenance and have the tool collection to show for it. That’s a real asset on a lot of jobs. But garage door hardware is one of the few household systems where the components are designed to hold spring-loaded blade cables and full door weight in check, and the failure mode is not “annoying” but “possibly serious.”
What we’ve laid out below sorts the typical garage door maintenance and repair tasks into three buckets: safe for most homeowners, context-dependent, and hands-off. That’s the useful split. The “context-dependent” column is where judgment actually lives, and where a free estimate can save you a lot of uncertainty before you spend a weekend on a job that’s over your head.
Task-by-Task Breakdown: What You Can and Can’t Safely Do
Here’s the plain version. Anything that involves torsion springs, extension springs, or the cables under tension goes to a technician. Anything that doesn’t involve stored energy is fair game for most homeowners with basic tools.
Safe for most homeowners
- Weatherstripping and bottom seals. A worn perimeter seal lets in drafts, water, and pests. Replacement is inexpensive and straightforward, and it’s one of the highest-value hours you can spend on the door.
- Lubrication. Rollers, hinges, and tracks need a proper garage door lubricant, not WD-40. Once or twice a year is usually enough. This is the single most skipped maintenance item we see.
- Safety sensor alignment. If the door won’t close or reverses immediately, the sensor is the first thing to check. Clean the lenses, make sure they’re aimed at each other, and confirm nothing blocks the beam.
- Remote and keypad programming. Every opener brand has its own pairing routine. The manual has the steps, and the learning curve is short.
- Track cleaning and visual inspection. Wipe the tracks down, check for dents or debris, and look at the rollers. Look, don’t adjust – track alignment is a different job.
Context-dependent – use judgment
- Roller replacement. Small task in theory, but you need to relieve door tension correctly and support the door while working. Get the support step wrong and the door can drop.
- Panel replacement on a sectional door. Cosmetic panels are manageable, but alignment and weather sealing matter, and a badly seated panel strains the rest of the system.
- Opener replacement, same brand and same rail type. If you’re replacing a LiftMaster with a LiftMaster and the mounting hardware matches, the swap is closer to electrical work than mechanical. Still not simple, but within reach for a careful homeowner.
Hands-off – call a trained technician
- Torsion springs. This is the single most dangerous component in the entire system.
- Extension springs. Older Raleigh homes still have these. They’re a different mechanism and a different hazard, but the answer is the same.
- Cables and drums. These run under tension from the spring and can fail without warning.
- Off-track doors. The door’s weight is hanging wrong. Do not touch it. Call first.
If you’re not sure which bucket a job falls into, that’s the point at which garage door repair service is worth a phone call. A free estimate tells you whether the job is a five-minute fix or a scheduled repair.
The Physics of Torsion Springs, Explained Plainly
A wound torsion spring stores roughly the same amount of energy as a loaded crossbow. That’s the honest comparison, and it’s why experienced technicians working on these springs still use containment rods, winding bars, and a deliberate winding sequence. It’s also why the ER visits from DIY garage door work almost always trace back to the same two components: torsion springs and the cables they tension.
What’s actually happening inside the spring
A torsion spring works by being wound tighter than its natural resting position. The spring resists that twist, and that resistance is what counterbalances the weight of the door. On a standard two-car door, one spring can be carrying a substantial share of roughly 150-250 pounds of door weight, held in a constant wound state. Every time the door opens or closes, that energy is released and reloaded.
When a spring reaches the end of its cycle life, it can fail with a bang loud enough to be heard from the front of the house. That’s normal aging, not a defect. The hazardous part for a homeowner is the winding and unwinding process. Getting it wrong means the winding bar can slip free with the full stored force behind it. Trained technicians wear safety glasses, work from a stable ladder, and use two bars and a planned sequence. They also know that the first thing to check before touching a spring is whether one on the other side has already broken, because a paired spring system behaves differently when one side is dead.
For reference, we work on the major brands installers use across the Raleigh area – Clopay, Amarr, Wayne Dalton, and LiftMaster among them – and the winding procedure is similar enough across lines that a trained technician can move between them without relearning the risk. That said, we never write the exact sequence down for a homeowner because the sequence isn’t the hard part. The hard part is the tension.
A few practical things worth knowing if you’re evaluating whether to touch your springs:
- If the door is stuck halfway and won’t move by hand, do not force it. That means tension is on the wrong side.
- If you hear a loud bang from the garage and the door won’t open, a spring has likely failed. Do not try to open it manually before a technician looks at it.
- If a cable has come off the drum, stop. The door’s weight is now depending on a single point.
On any of those, call. We’ll tell you what to look for, and our technicians have up to experience diagnosing exactly these situations. It’s not worth being a hero about.
DIY Opener Installation: Where It Makes Sense and Where It Voids a Warranty
Repairing an opener you already have is different from installing a new one. Repair is usually straightforward for a technician and less so for a homeowner. Installation is usually doable for a homeowner if the conditions are right – but “right” has a narrow definition.
When DIY opener installation makes sense
- Same brand, same rail type, same mounting. Swapping a Chamberlain for a Chamberlain with matching rail dimensions means you’re reusing the mounting points and using the manufacturer’s existing templates.
- No ceiling modifications needed. If your existing bracket already works, you’re not cutting new holes.
- No electrical work required. If you’re plugging into an existing outlet in the ceiling, you’re fine. If you’re running new wiring or adding a circuit, hire an electrician. Electrical panel work isn’t a DIY task either, and the same goes for the low-voltage wiring to wall controls if it needs a new run.
- You have a helper and a proper ladder. Openers are awkward more than heavy. Doing one alone on a tall ladder is not a good plan.
When DIY costs you more than it saves
- Mismatched hardware across brands. A Genie opener on a Craftsman rail or a LiftMaster opener on a Wayne Dalton door isn’t automatically a problem, but the door’s balance and the opener’s force settings need to match. Get this wrong and you’ll be replacing the whole unit.
- Warranty voiding. Most manufacturers specify professional installation to preserve certain warranty terms, especially on the motor and the safety reverse system. Read the manual before you cut the box open.
- Safety reverse calibration. The opener’s safety reverse is a feature most homeowners don’t tune correctly the first time. It’s a force-sensitive system, and getting the calibration wrong can mean the door reverses on a shoe or doesn’t reverse when it should.
- Doors with double springs or unusual geometry. Two-car doors with paired springs, or doors with an unusual track layout, are more sensitive to headroom and travel adjustments.
This is where our approach to garage door opener repair work is relevant. The opener is the brain of the system, and we treat opener work as a specialty rather than a side category. That matters more on installation than on repair, because the calibration steps are non-obvious and vary by brand. If you’re swapping a LiftMaster for a Genie or the reverse, call in help.
How Raleigh Permits and Code Requirements Interact With DIY Work
Most cities require a permit for structural changes to a garage, including replacing or altering the door opening or its framing. Whether your specific project needs one depends on the scope, the age of your home, and how your local building department classifies the work. Rather than guess, call the City of Raleigh’s building department and describe the job. They’ll tell you plainly whether a permit is required.
The thing homeowners miss is that a permit isn’t the same as an inspection. A permit gives you permission to do the work; the inspection certifies that the work meets code. You can pull a permit and still fail the inspection if the door’s attachment, balance, or safety reverse isn’t correct. And you can’t self-certify that final inspection – someone has to actually check the door.
A few practical rules of thumb for Raleigh homeowners:
- Replacing the door in kind. Usually the simpler permit scenario, but confirm with the city.
- Changing the opening size or structure. Almost always requires a permit and inspection.
- Rebuilding framing around a door. Structural, so call first.
- Openers and weather seals. Generally not permit-required, but confirm if you’re unsure.
One thing we see in Raleigh is older neighborhoods where an existing permit from the original door installation is hard to find. If you’re selling the home or planning a major renovation, that history may matter. A quick call to the building department can usually confirm what’s on record for your address.
What “I’ll Watch a Video First” Prepares You For (and What It Skips)
Video tutorials are genuinely useful for several garage door tasks. They’re also misleading for others, and the misleading part isn’t what they show – it’s what they can’t show. A camera angle can’t communicate how much force is on a spring, what a slipping winding bar feels like in your hand, or how much vibration a door gives off when the weight is uneven. Those are the parts that matter for the risky jobs.
Where video tutorials help
- Weatherstripping replacement. Very good fit. Short, visual, low risk.
- Remote and keypad programming. Brand-specific videos are usually accurate, and the steps are the same as the manual.
- Sensor alignment. Helpful for understanding what the sensors do and why the door reverses.
- Lubrication points. Helpful, though half the videos out there recommend the wrong lubricant.
Where video tutorials systematically skip the hard part
- Torsion spring winding. Videos show the sequence but not the physical feedback. The real skill is in knowing when something is wrong and stopping.
- Cable and drum issues. The tutorials usually assume the tension is already off, which is the part you can’t verify from a video.
- Off-track doors. A video can show you how to bend a track back. It can’t tell you whether the door is going to drop while you’re doing it.
- Force calibration on a new opener. The procedure is different for each opener, and getting it slightly wrong is invisible on video.
A specific thing we’ve noticed: video tutorials for LiftMaster and Chamberlain openers are often accurate, but tutorials for older Genie or Craftsman units frequently gloss over the calibration step or substitute a universal procedure that doesn’t quite match. If you’re working on an older opener, treat any tutorial as a starting point rather than a manual. The manual is the manual for a reason.
For everything outside the safe column, the video’s role is to help you communicate with a technician. If you can describe what your door is doing and roughly where in its cycle it’s failing, the technician can get to the right diagnosis faster. That’s how video is best used.
Raleigh Climate and Your Garage Door: What the Seasons Actually Do
Raleigh’s climate moves through four real seasons, and the swing between summer humidity and winter cold puts a lot of mechanical stress on a garage door. The wood framing around the door swells and shrinks across the year. The metal tracks move with it. The springs cycle differently in cold weather, and the weather seals take the brunt of the seasonal movement.
Humidity season
Summer humidity in Raleigh is substantial, and it works on two fronts. First, it swells wood framing and can shift the door opening enough to affect how the door seats. Second, it accelerates corrosion on any metal that isn’t well coated. This is the season when a poor bottom seal is most noticeable, because trapped moisture damages the trim and the door’s lower panel. It’s also when lubrication matters most – a dry hinge is an unhappy hinge in July.
Cold snaps
Winter cold isn’t extreme here, but the temperature swings are. Cold contracted springs behave differently from warm ones, and the opener’s force settings that felt perfect in September may feel slightly off in January. If your door has started reversing on closing or opening more slowly, that’s often a seasonal calibration issue rather than a component failure. A quick check is worth doing before assuming the worst.
Storm season
Spring and summer storms are a normal part of living in Raleigh, and the door gets a workout from wind and rain. Hail is uncommon in this part of the state, but wind-driven rain and debris are not. That’s the season to check the weather seal and the bottom edge before water gets in. If something has bent outward from a bump, that’s a repair call, not a “wait and see.”
Seasonal awareness matters more than any single maintenance task. A door that gets lubricated twice a year, has its seals checked in spring and fall, and has its balance checked once a year will generally last long past the point where an unmaintained door is failing. That’s true anywhere, but it’s especially true in a city where the climate moves through four distinct seasons.
DIY vs Professional Cost: An Honest Comparison
The cost math isn’t as simple as “parts cost X, professional costs Y.” DIY adds risk, time, and the potential for redo costs. Professional work adds labor and scheduling. Which is cheaper depends on the task.
Typical cost signals
- Weatherstripping: Materials are inexpensive. Professional cost is modest. DIY saves real money here, and the risk is low.
- Lubrication and sensor alignment: Essentially free to do yourself. Professional cost isn’t worth calling on its own, but it’s worth doing alongside other work.
- Torsion spring replacement: Professional repair is typically a per-job estimate. A single spring replacement typically costs roughly $180-$340, and a matched pair is usually replaced together, so a pair costs about twice that. The DIY cost of getting it wrong is not measured in dollars.
- Opener replacement: A pro install adds labor on top of the unit. The DIY savings can be real, but only if the warranty terms survive it and the calibration is right.
- Full door replacement: Professional scope. Measuring, ordering, and scheduling all matter, and the fit is the whole job.
Where DIY tends to actually cost more
The redo is the expensive part. A weather seal installed badly gets redone. A force setting calibrated wrong can lead to a service call later. A mismatched opener install can require replacement of the opener itself. The homeowner’s honest math isn’t “how much can I save?” but “what’s the chance I have to redo this?” If that number is meaningful, call.
In Raleigh, price is quoted by written estimate and agreed before any work starts. Every price we give is per job, and the written estimate sets the final price. There’s no surprise invoice at the end.
Common Mistakes to Avoid
- Treating WD-40 as a garage door lubricant. It’s a solvent, not a lubricant, and it will strip the grease off your rollers. Use an actual garage door lubricant at the hinge and roller points.
- Adjusting a spring you haven’t confirmed is dead. If one spring in a pair has failed, the other is now carrying the full load. Do not go near it without a technician confirming the state of both.
- Reaching for a pry bar to straighten a bent track. Track bends happen from a door impact, and the door’s weight distribution is usually off when it does. Straightening the track without addressing the cause is a recipe for a repeat.
- Replacing an opener without checking brand compatibility. In a Raleigh garage that’s held the same branded system for a while, swapping brands without checking rail and mounting compatibility is where most DIY opener installs fall apart.
- Skipping the permit question. If your project is structural, call the City of Raleigh’s building department first. It’s a five-minute phone call that can save a failed inspection.
- Ignoring a slow-reversing door. If the door’s safety reverse has drifted, that’s not a minor annoyance – it’s a system fault. Get it checked before someone gets hurt.
- Assuming the weather seals don’t matter. A failing bottom seal in Raleigh’s humidity lets water pool against the door’s lower panel, and that repair is more expensive than the seal that would have prevented it.
See the difference
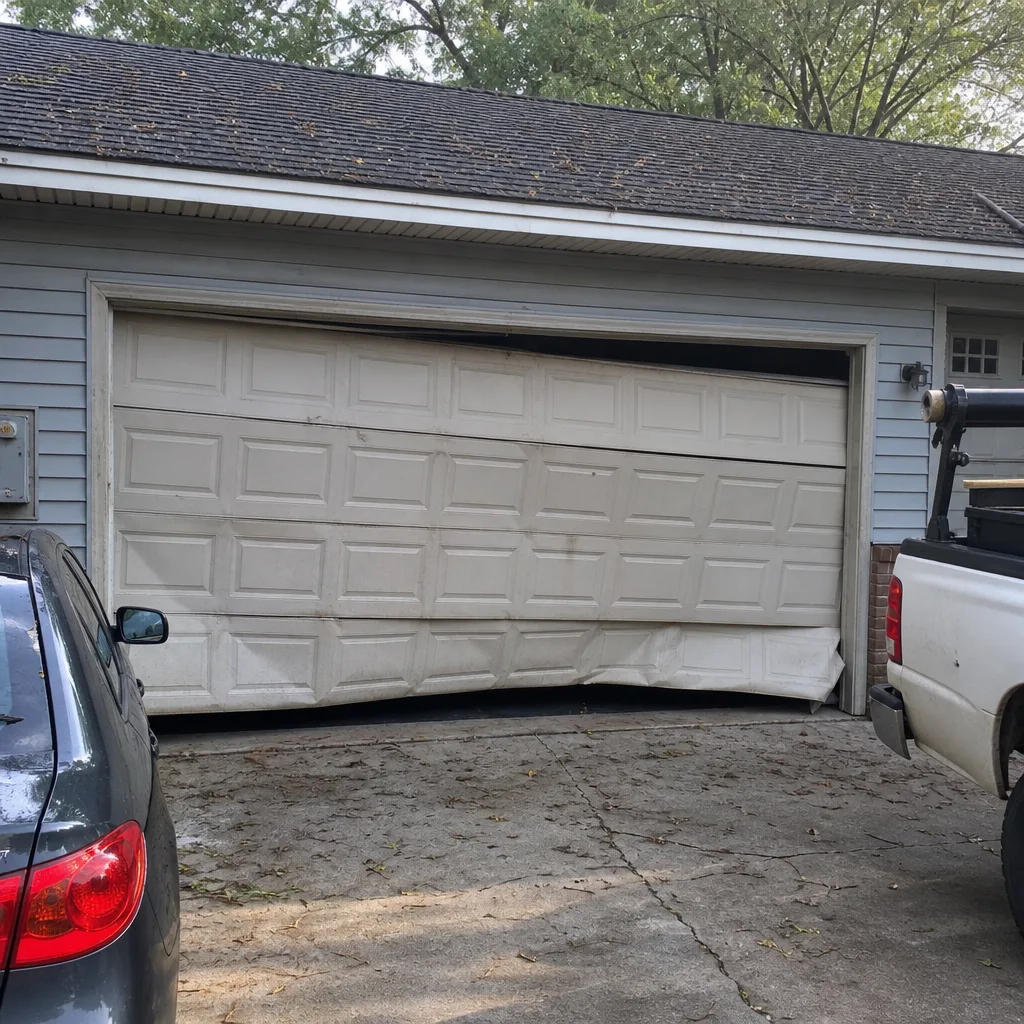 Before
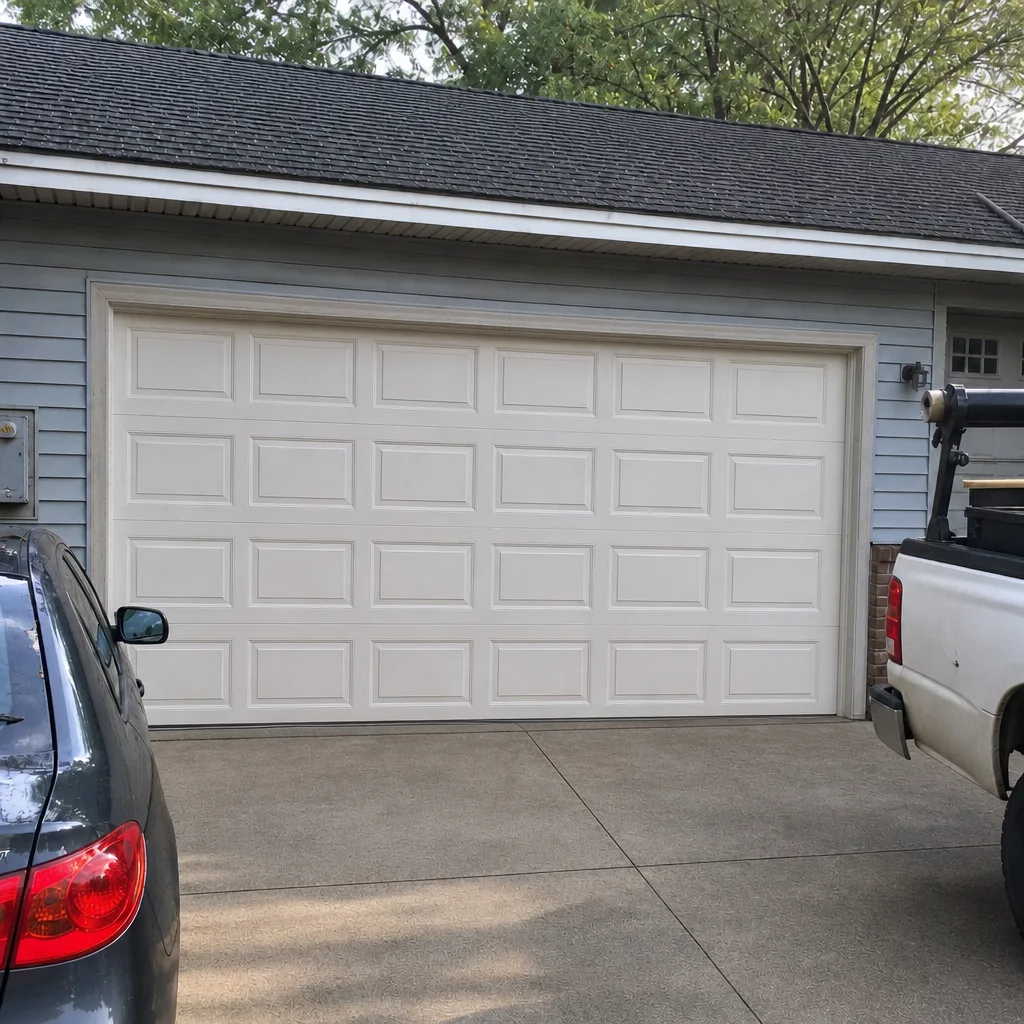 After
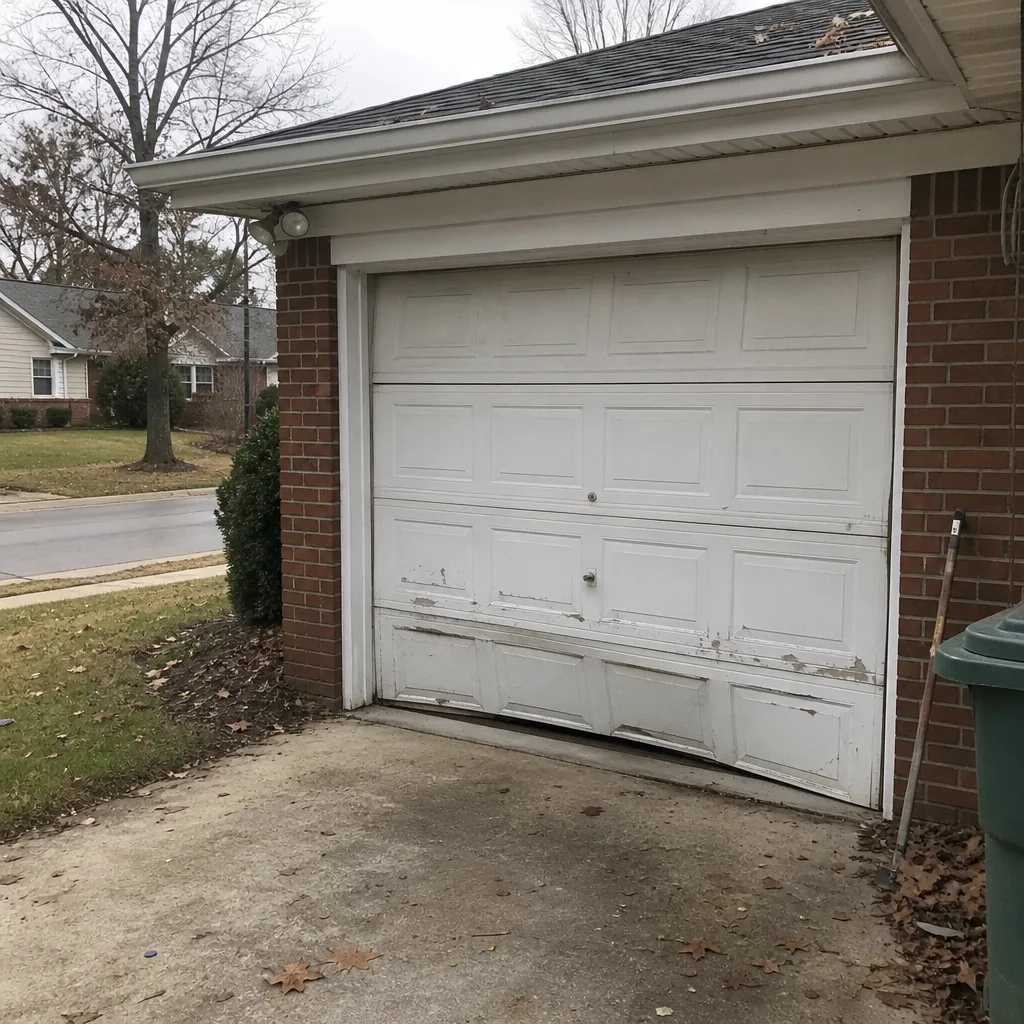 Before
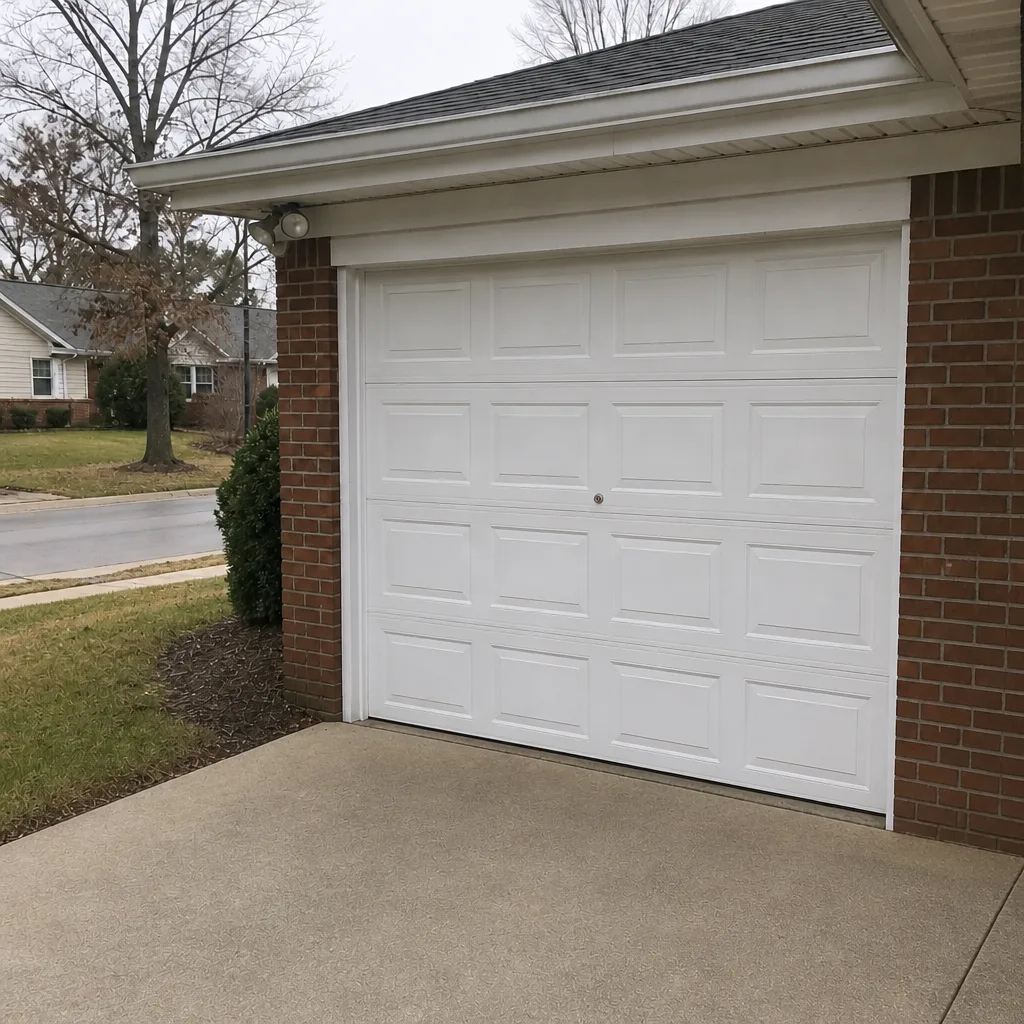 After
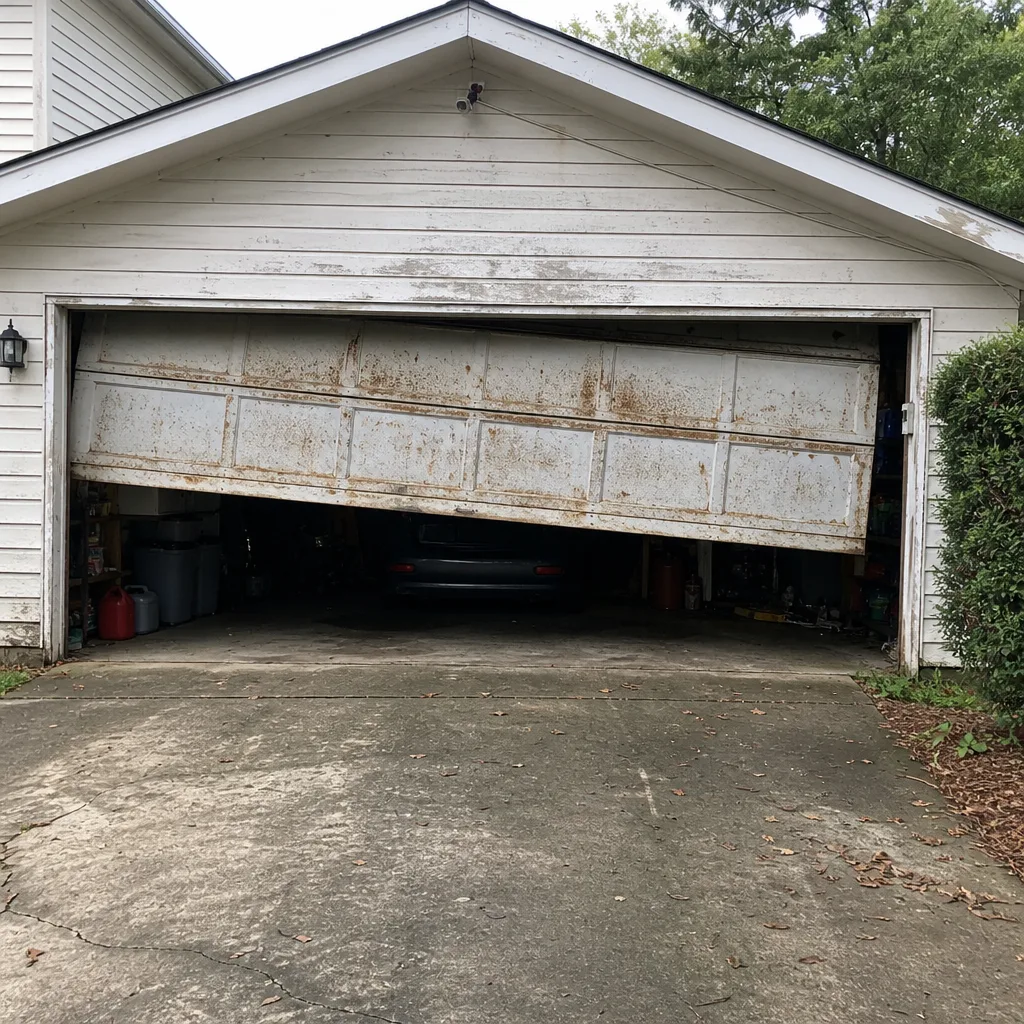 Before
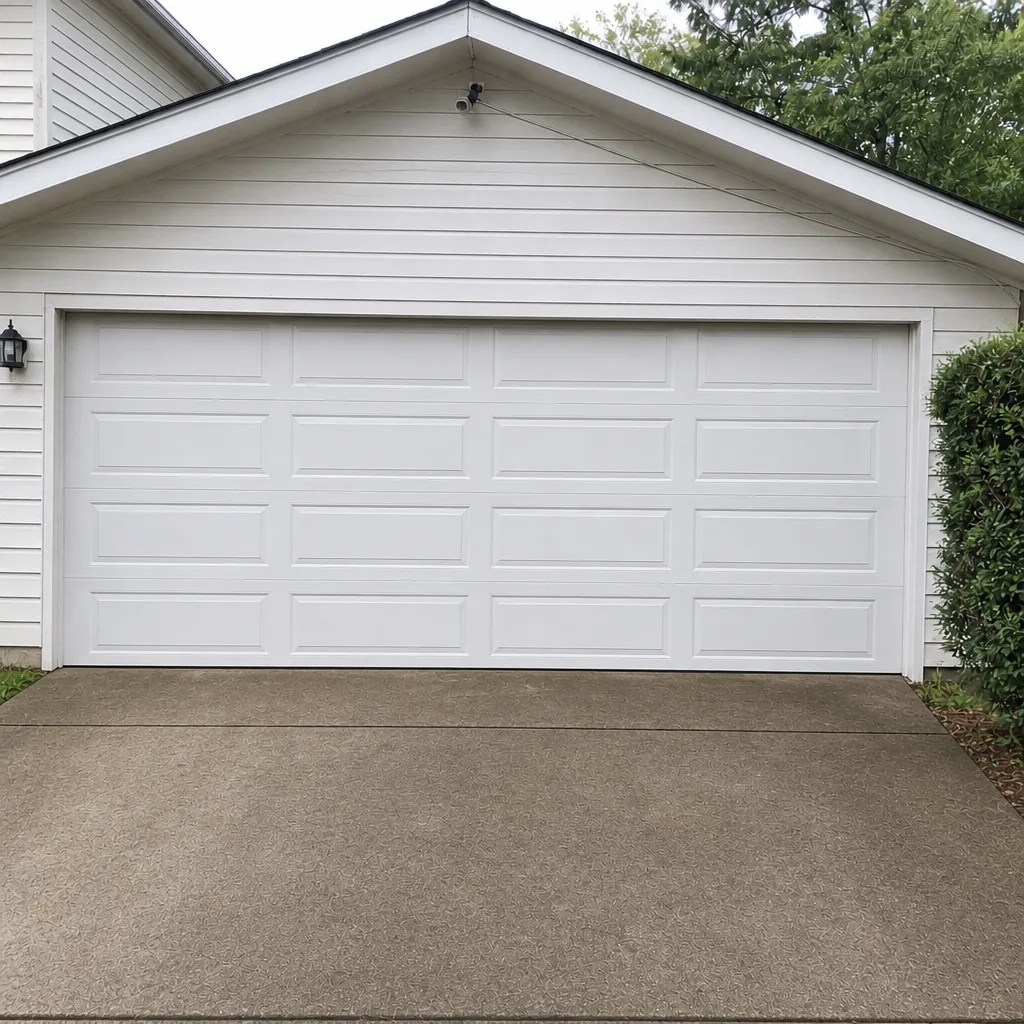 After
When to Call a Professional
Call a professional for anything involving springs, cables, drums, off-track doors, or a failed safety reverse. Call for a door that won’t open or won’t close, a door that reverses unexpectedly, an opener that’s stopped responding to remotes, and any structural work covered by a Raleigh permit. Call before you buy a replacement door or opener, so you buy the right thing once. Also call if you’re not sure which category your job falls into – that’s what free estimates are for, and the honest answer is often “you can handle that part yourself.”
Orchard Garage Door Repair offers free estimates in Raleigh. Call (866) 942-6232 – we answer 24/7, and fast dispatch runs from 7am to 7pm, Sunday through Friday. We’re closed Saturdays. Our technicians have up to experience, and we work on the brand you already have – LiftMaster, Chamberlain, Genie, and the rest.
Frequently Asked Questions
No. Torsion springs store enough energy to cause serious injury even when handled carefully, and they require specific tools and a winding sequence. Call a trained technician. A single spring replacement typically costs roughly $180-$340, and a pair costs about twice that since matched springs are usually replaced together. Call (866) 942-6232 for a free estimate.
Usually, yes, for a full replacement, especially if the door opening or framing changes. The City of Raleigh’s building department can confirm based on your specific project. Openers and weather seals generally don’t require a permit, but confirm before you start.
It depends on the scope. Replacing an opener with the same brand and mounting can be doable for a careful homeowner. Swapping brands, running new wiring, or working on a door with unusual geometry is where it gets risky and where warranties often become complicated. Call us and we’ll tell you which scenario you’re in – the estimate is free.
For weatherstripping, sensor alignment, and remote programming, yes. For anything with springs, cables, or opener calibration, no. Video tutorials show the sequence but not the physical feedback that tells a trained technician when something is wrong. That’s the part that matters on the risky jobs.
Lubricate the rollers, hinges, and tracks twice a year. Check and replace weatherstripping when it cracks or pulls loose. Clean and align the safety sensors. Program remotes and keypads. Check the balance once a year by disconnecting the opener and lifting the door halfway – it should hold. Anything that involves tension or structural work goes to a technician.
No. We quote per job by written estimate and agree it before any work starts. The written estimate sets the final price. Every estimate is free. Call (866) 942-6232 to schedule.
Yes, our technicians are licensed and insured, and they have up to experience. We work on the major brands – LiftMaster, Chamberlain, Genie, Clopay, Amarr, Wayne Dalton, Craftsman, Raynor. One call covers it. Call (866) 942-6232.
The Bottom Line
The DIY-versus-professional question isn’t about whether you’re handy. It’s about which tasks have acceptable failure modes and which don’t. Weatherstripping, lubrication, sensor alignment, and remote programming are yours for the taking, and they’re worth doing. Torsion springs, cables, and anything under tension go to a technician, always. In between, the math is mostly about warranty terms, permit requirements, and whether you’re genuinely confident in your ability to calibrate a new opener correctly. Call before you buy the hardware, not after. Whether you’re in North Raleigh or anywhere else in the city, we’re happy to give you an honest read on what’s worth tackling yourself and what isn’t.
Orchard Garage Door Repair handles repair, garage door opener repair, and new installation as one company – no handoffs. We’re reachable at (866) 942-6232 for a free estimate. Call today. We answer 24/7. Fast dispatch, 7am-7pm, Sunday through Friday.
Written by the team at Orchard Garage Door Repair.